Whether a kitchen knife falls to the floor, or a pocket knife is used to try and loosen a screw, of the lifetime of a knife it is likely to suffer the fate of a broken tip.
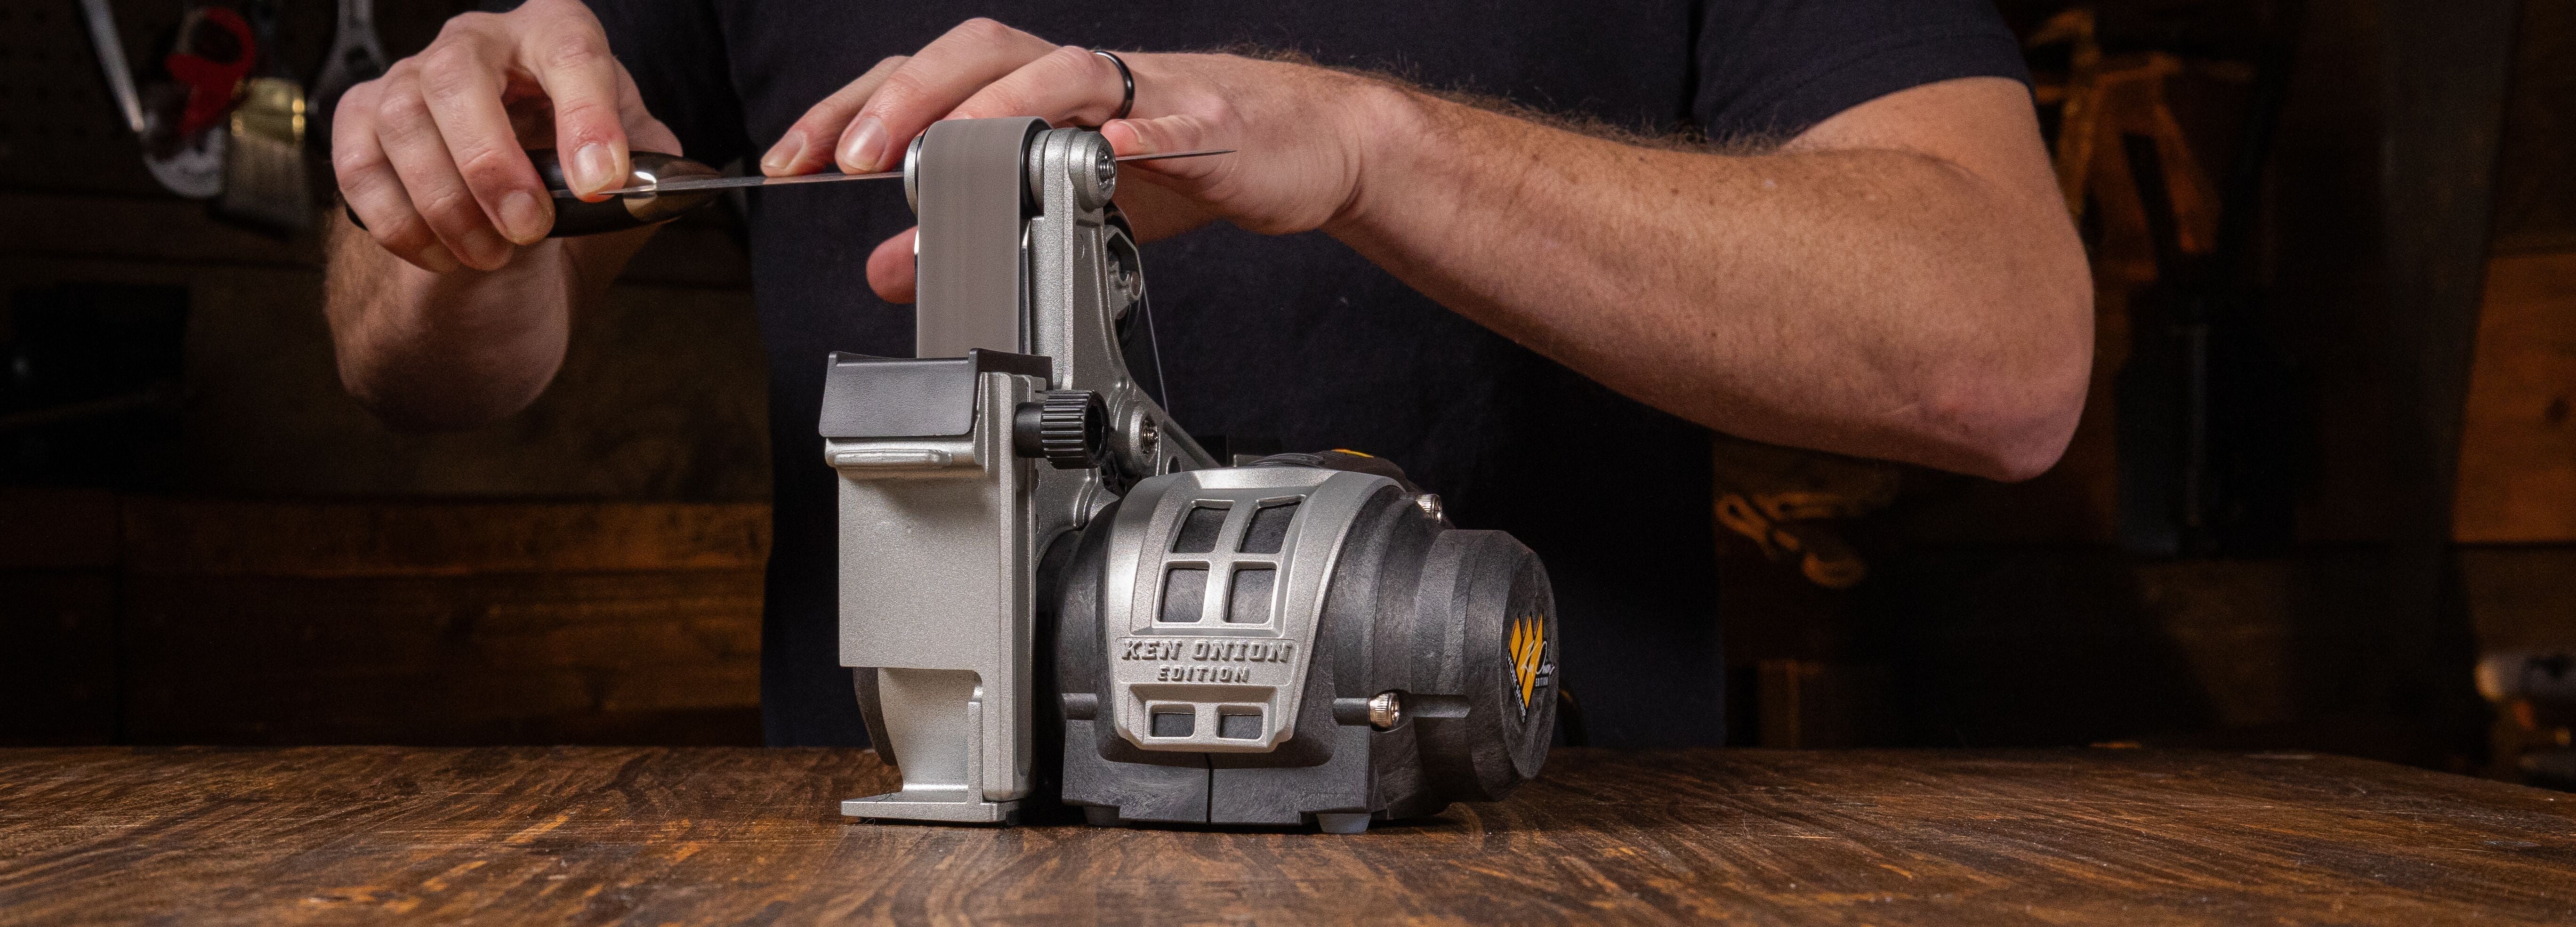
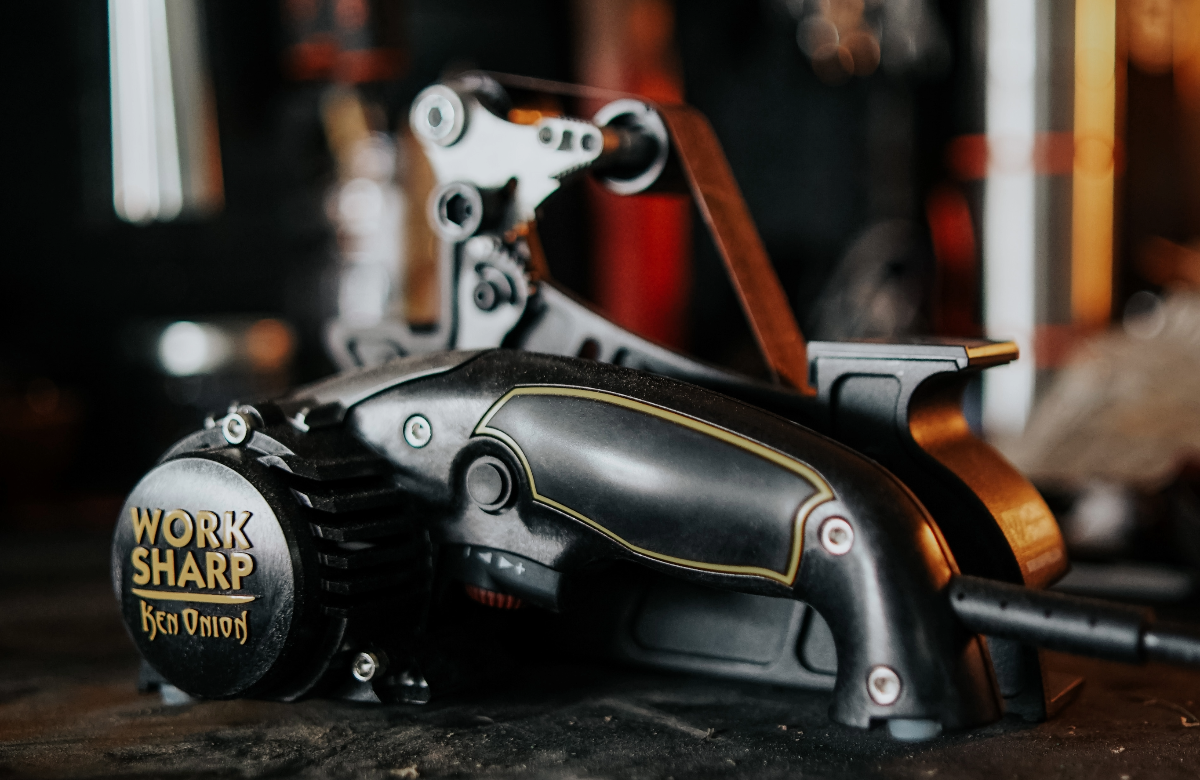
In the video above special guest Steve prepares to repair the tip of a Wusthof pairing knife on the Work Sharp Ken Onion Sharpener with Blade Grinding Attachment – a tool he designed over the course of his 22 year (and counting) tenure with Work Sharp. First… we had to break the tip in order to repair it.

Tip #1: Maintain the original cutting geometry
When a part of the tip of a knife is broken it is impossible to maintain the exact same cutting geometry as the original shape, but we can get close. Knives have both a primary grind taper and distal taper meaning it gets thinner closer to the cutting edge, as well as closer to the tip. In order to preserve the geometry, grind the spine of the knife down until it meets the bevel forming a new tip.
Bringing the spine down to the bevel is not only key for keeping an effective, thin cutting edge and it is also a safety measure when it comes to folding knives. Many folding knives leave the spine of the knife exposed outside of the handle when they are closed. If a knife with a broken tip was restored by bringing the bevel up to the spine it is possible the new tip may stick out of the handle of the knife when closed presenting a dangerous sharp tip exposed in your pocket.
Tip #2: Match the shape of the spine for comfortable use
The blade shape of a knife is very purposeful, and we want to maintain that original shape a well. When removing material from the spine try to match the shape of the original spine. In this case we wanted to round the spine down until it met the bevel so it would be comfortable to work with a finger on the spine near the tip. This meant we needed to grind back about 1.5 inches from the tip to maintain a consistent shape.

Tip #3 Tools
Using a coarse abrasive knife sharpener is the best way to remove material quickly and repair the knife. A coarse diamond plate will get the job done, or a belt system like our own Work Sharp tools. Re-shaping a knife can be done on other power tools and should be done with extreme caution. A belt sander or bench grinder is an effective way to remove material but also introduces a high amount of heat very quickly. It is important to keep the knife cool.
Tip #4 Go slow and keep a wet rag near by
How do I know if my knife is getting too hot? Knife heat treatment is not affected until a blade is around 400-degrees. Metal feels uncomfortably hot to touch around 100 or 120-degrees. If a knife is hot to the touch take a break or cool the blade on a wet rag or sponge.
Tip #5
After the shape is set, work over all newly ground surfaces with each abrasive to smooth edges. Grinding the spine can create a sharp 90-degree edge that can be uncomfortable to work with. Working through each abrasive can be done at the time of sharpening.
How to Sharpen a Knife on the Ken Onion Edition Knife Sharpener with Blade Grinding Attachment
- Set the desired bevel angle between the pulleys.
- Put on the coarse belt.
- Power on the machine and lock in speed to a medium speed.
- Rest the spine of the knife on the horizontal platform, maintaining this angle, bring the knife up to contact the belt between the pulleys and draw the bevel across the belt.
- Repeat step d. 3-5 times or until you have raised a burr. Then repeat the same number of strokes on the opposing side.
- Switch out the belt for the X65 belt and draw the knife across the belt 2-3 times per side alternating sides with each stroke.
- Repeat step 6 with finer and finer abrasives using light pressure and maintaining a steady contact with the belt.
- Test by cutting paper
Now we have our tip repaired and a sharp knife!


